Create a load and book a carrier
Enter a load for your customer, then book a verified carrier on it.
Steps
Each picture has a red box around what to click. Words in bold are the names you will see on the screen.
Step 1: Start a new load
Click Loads in the left menu, then click + New load.
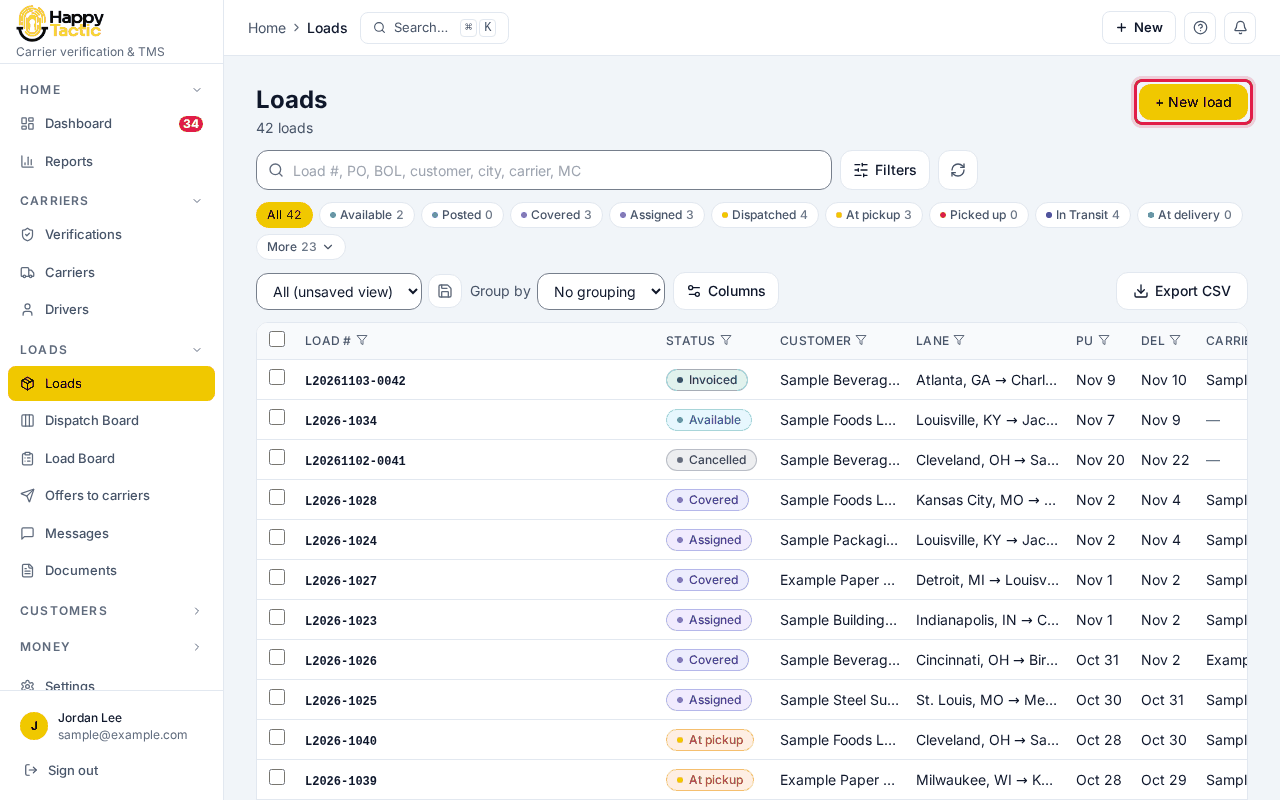
You should see: A page called New load opens. It asks you to select a customer first.
Step 2: Choose the customer
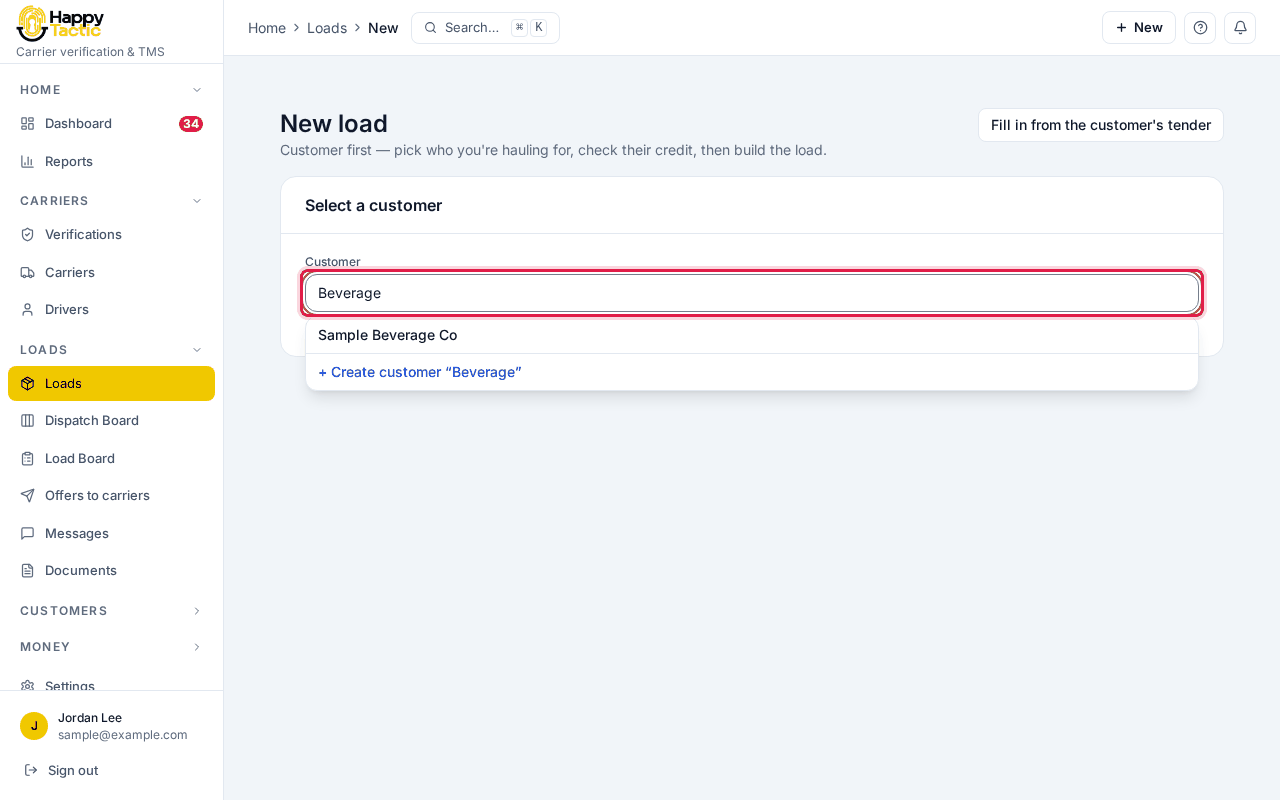
Click the Customer box and start typing the customer’s name. Click the name when it appears. If the customer is new, click + Create customer under the list.
Step 3: Check the customer’s credit
Look at the box at the top. It shows what the customer already owes you, their credit limit and how old their open invoices are.
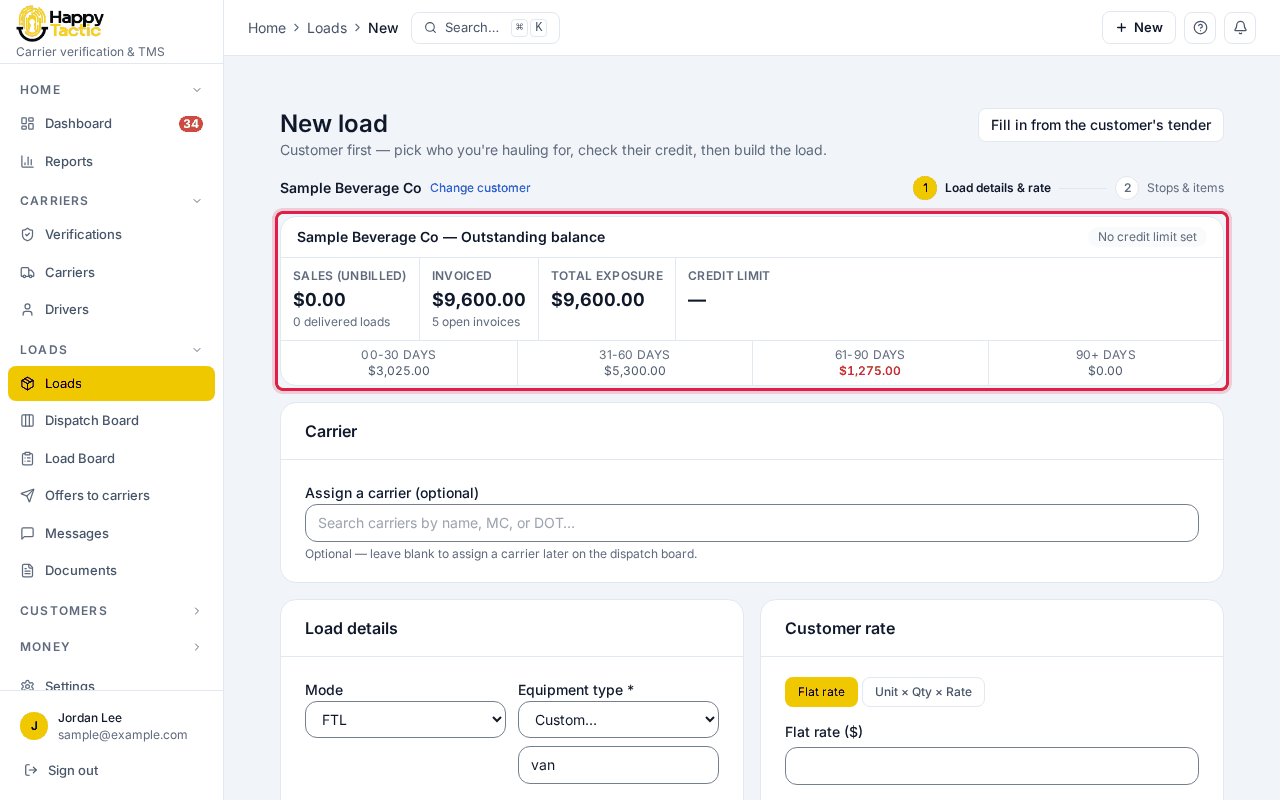
You should see: The load form opens below. If this load would push the customer over their limit you see a warning, or the load is blocked, depending on your company setting.
Step 4: Enter the customer’s rate
Type the amount the customer pays in Flat rate ($). Pick the Equipment type if it is not right. Then click Next: stops & items → at the bottom.
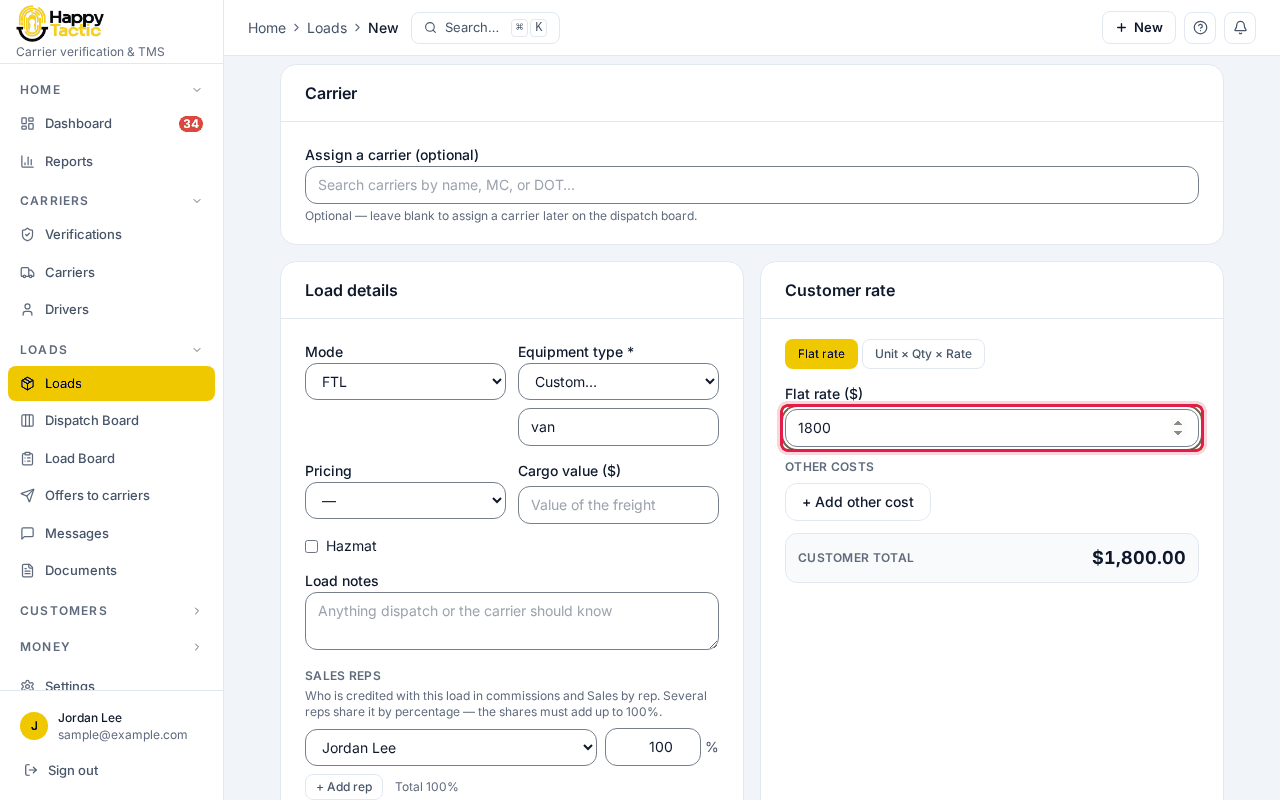
You should see: Step 2, Stops & items, opens. What you pay the carrier is not part of this step.
Step 5: Add the pickup and the delivery
For each stop choose Pickup or Delivery, then fill in the Stop date, City and State. Add the address if you have it. Use + Add stop for more stops.
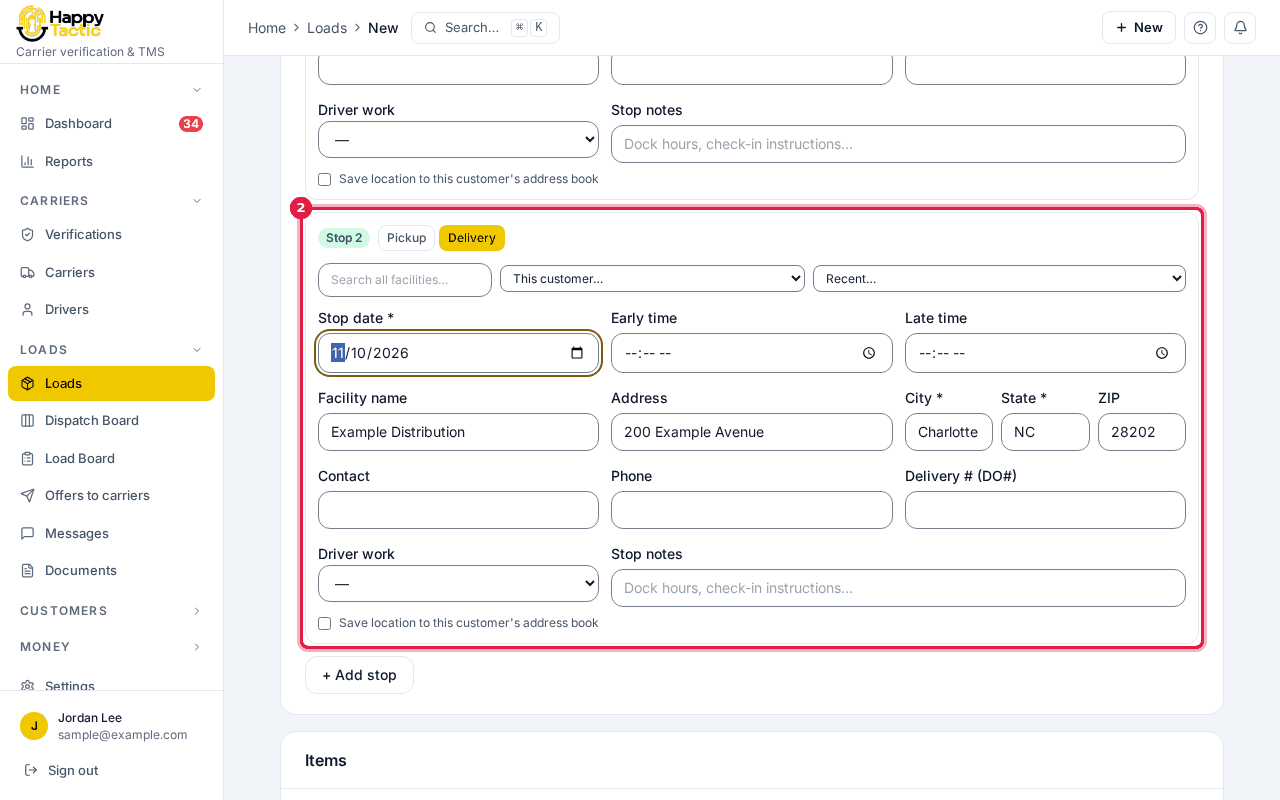
Addresses here are samples. You should see: A full address lets the load stamp arrivals and departures on its own. A city only works, but you will see a note on the load asking you to fix the address.
Step 6: Create the load
Click Create load.
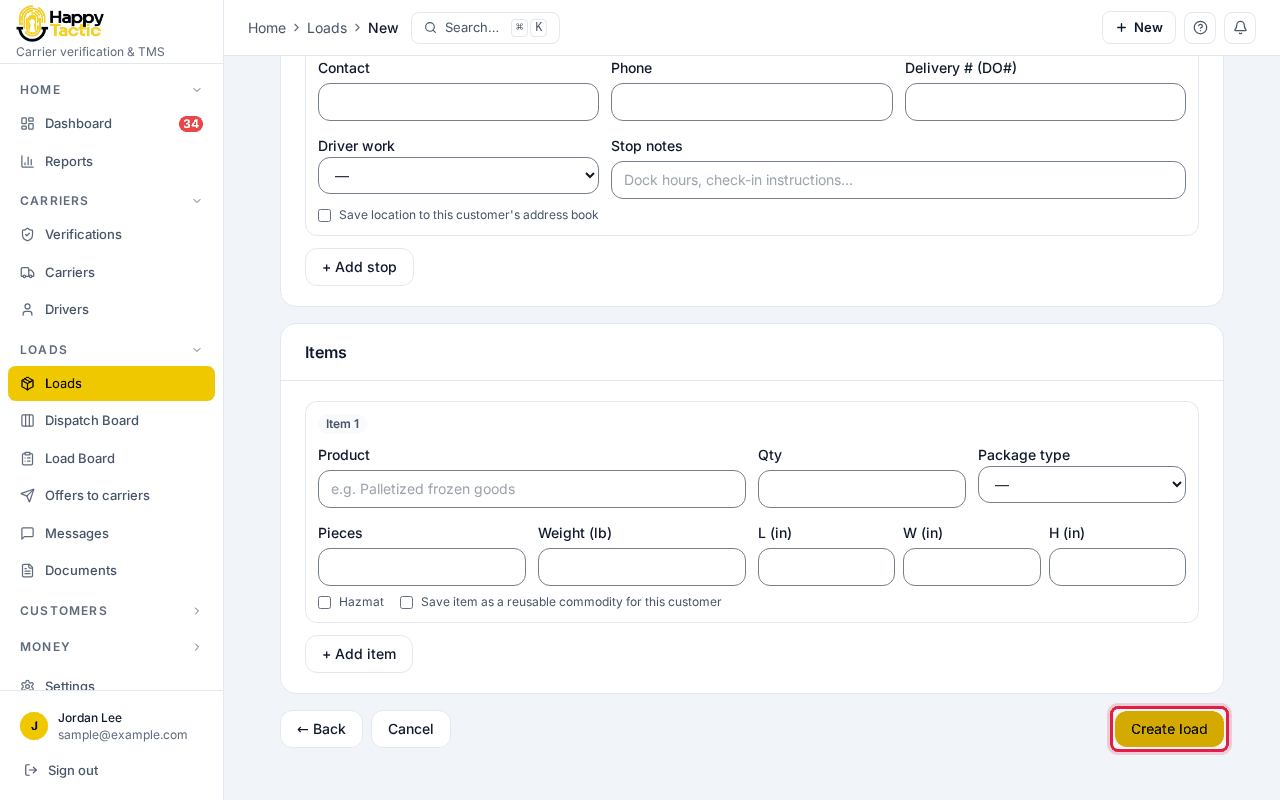
You should see: The load opens on its own page with the status Draft and a load number.
Step 7: Open the Carrier section
On the load page, click Carrier in the bar below the title. Look for Assign a carrier directly.
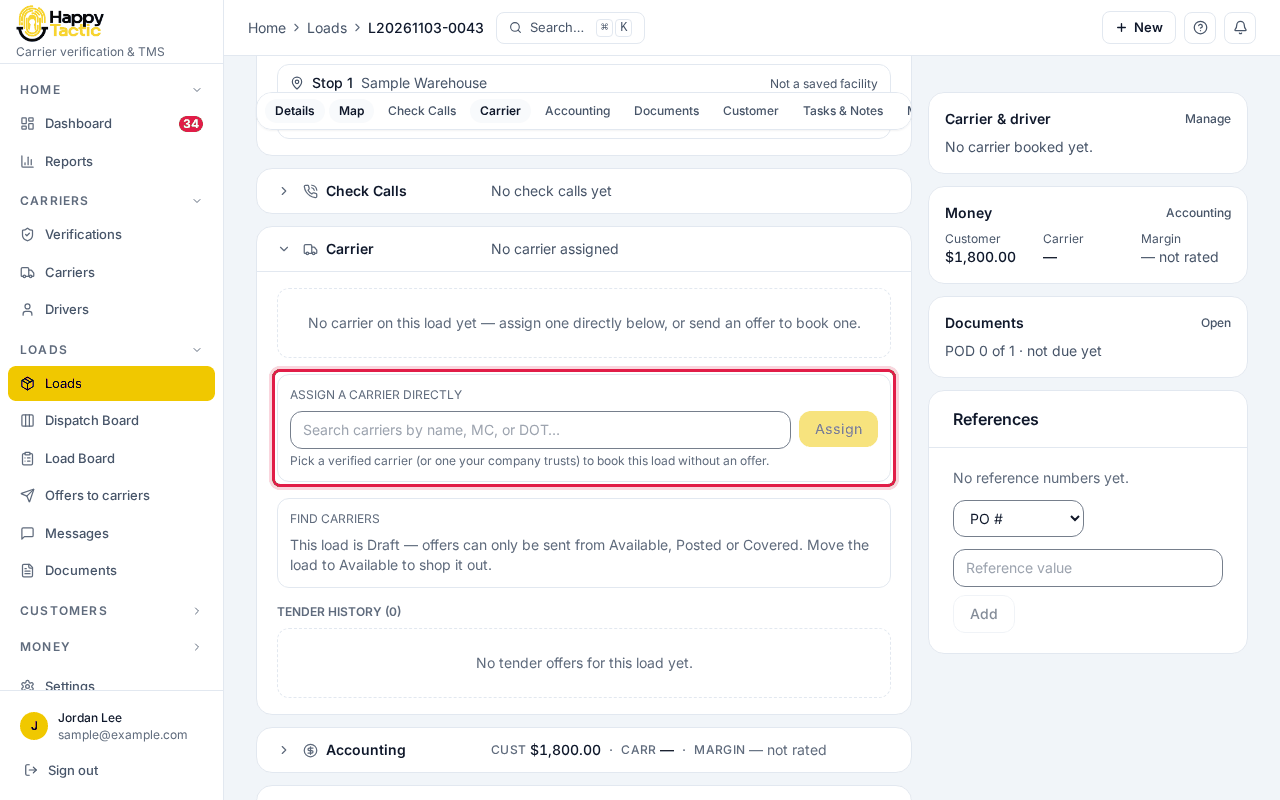
Step 8: Find the carrier
Click the box and start typing the carrier’s name, MC or DOT number. Click the carrier when it appears.
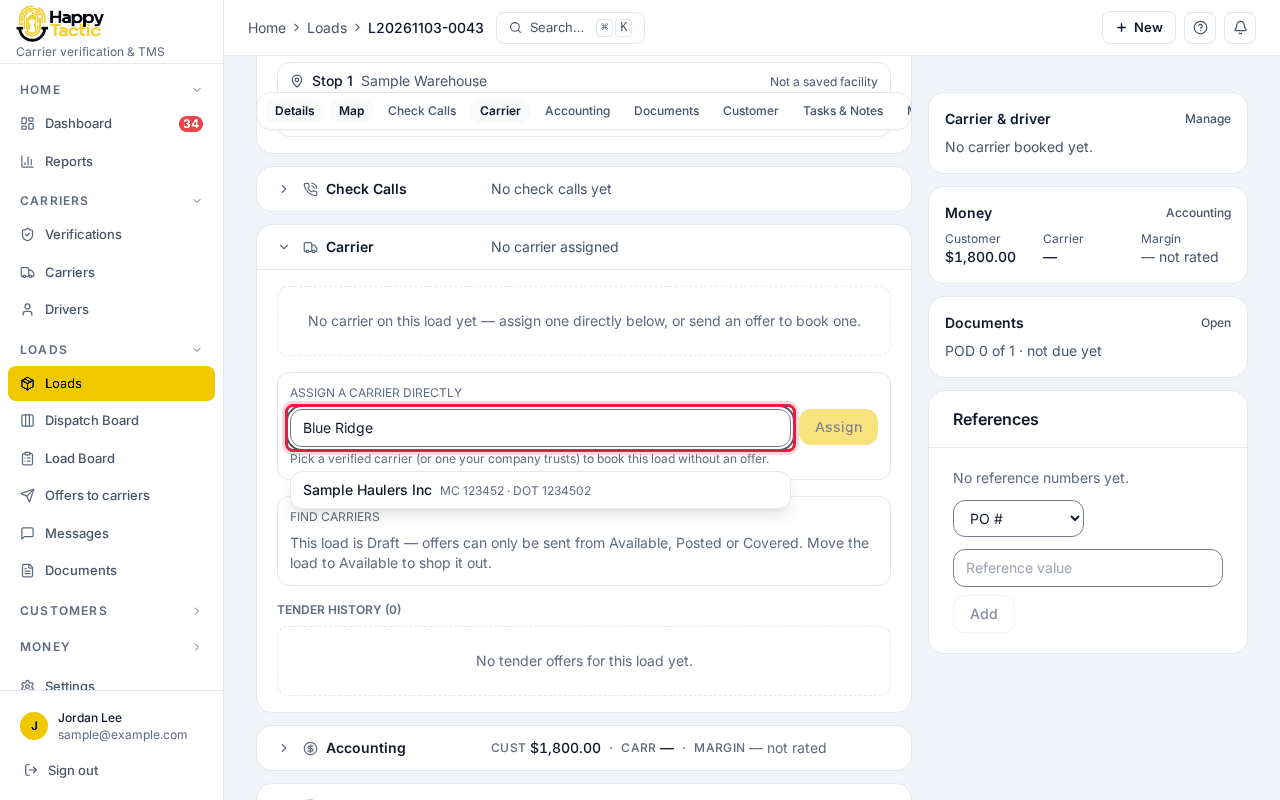
You should see: Only carriers with an OK to book verification, or ones your company has marked as trusted, show up. If yours is missing, verify them first.
Step 9: Book the carrier
Click Assign.
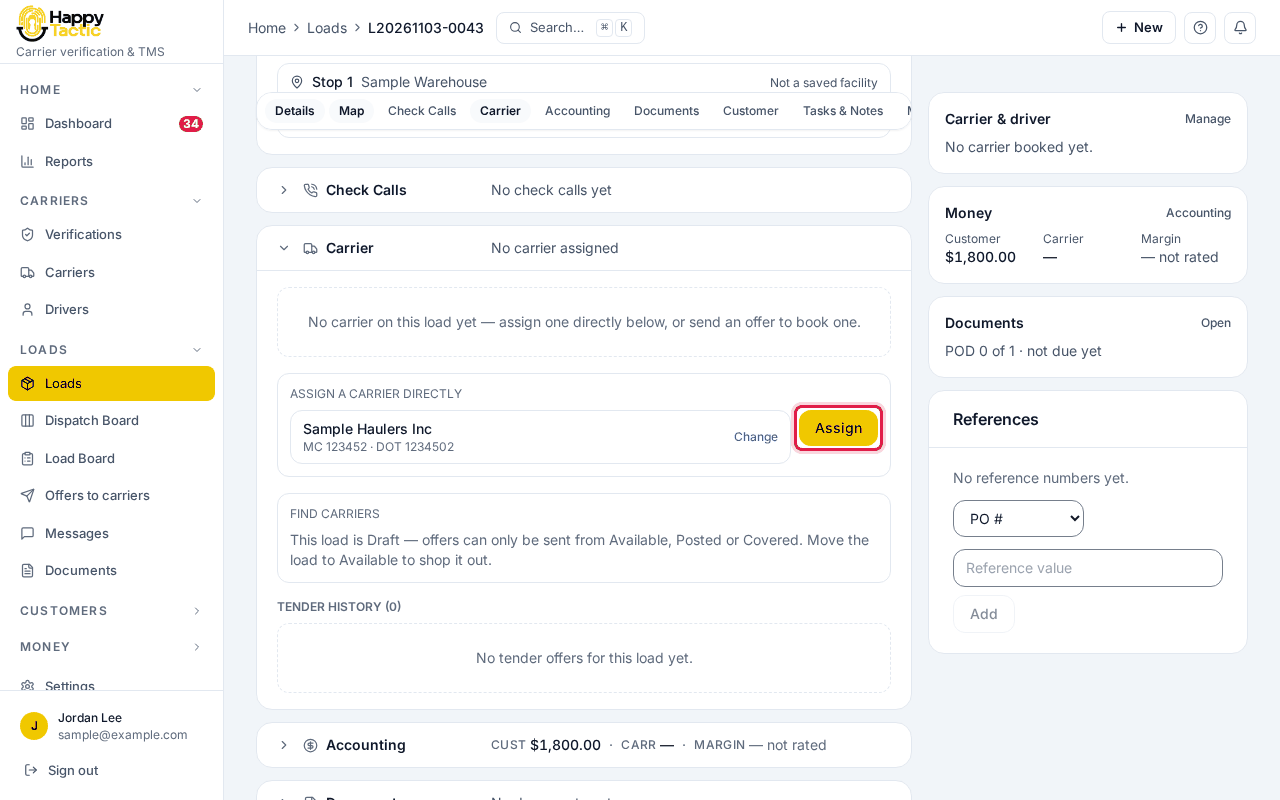
You should see: Booking is refused if the carrier does not pass your company’s booking rules.
Step 10: Check the booking
The Carrier section now shows the carrier and the booking status Accepted. The right-hand side shows the carrier too. Next, send them the rate confirmation.
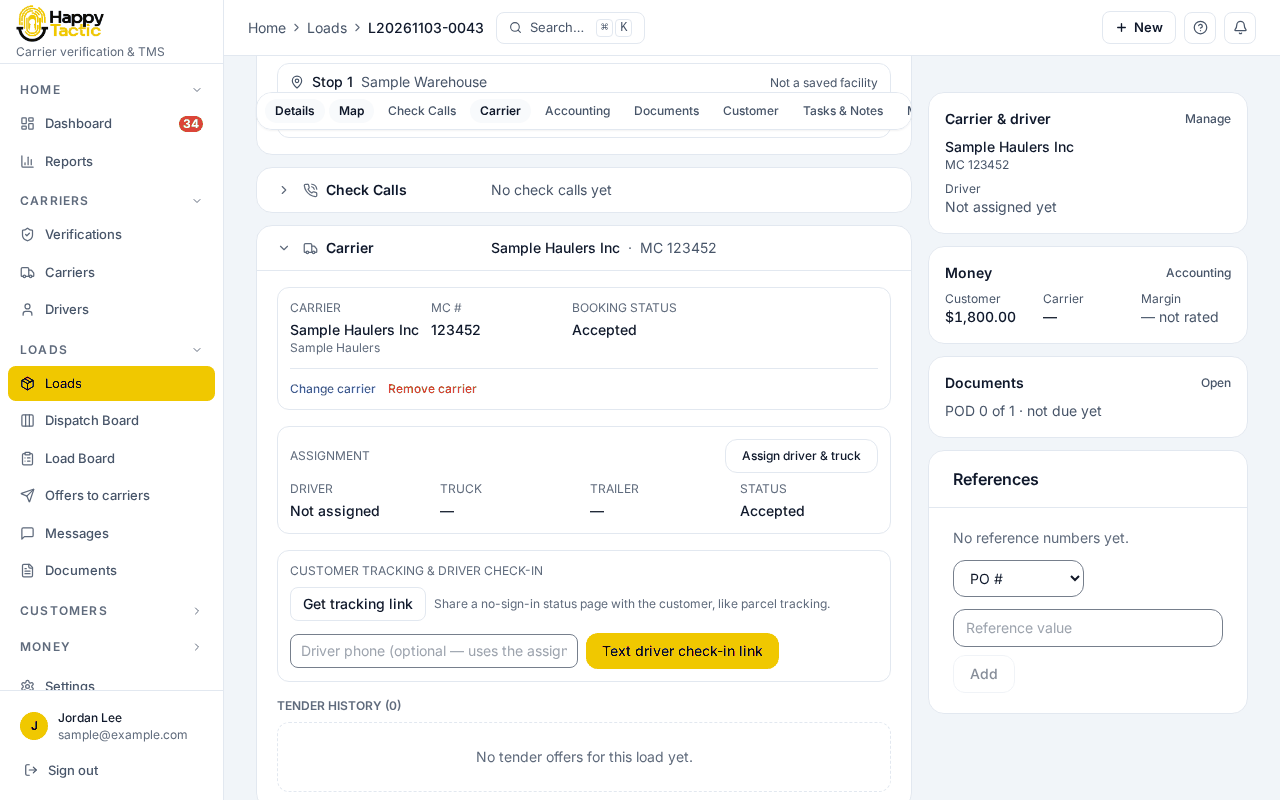
You should see: The load is still Draft. The yellow button at the top right shows the next step, for example Mark as Available.
If something goes wrong
- The carrier I want does not come up in the search.
- It needs a verification that is OK to book and has not expired. Start one from Verifications.
- The customer is over their credit limit.
- You see a warning or a block, depending on your company setting. Ask the customer to pay first, or have an admin change the setting.
- The load says “Fix 2 stop addresses”.
- The addresses only matched a city or ZIP code. Click Fix address next to each stop and pick the exact match.
- The Equipment type shows “Custom…” with a word underneath.
- Choose your equipment from the list, or type your own word in the box underneath. Either works.
- I cannot send an offer to carriers.
- Offers only go out when the load is Available, Posted or Covered. A Draft load has to be moved forward first.
Still stuck? Open Help & Support in the left menu of the app and send us a message.
What next
These guides usually come next: