Bring in your old data
Load your customers, carriers, drivers, loads and more from a spreadsheet exported from your old system.
Steps
Each picture has a red box around what to click. Words in bold are the names you will see on the screen.
Step 1: Open Import
Click Settings, then TMS Settings, then Import in the list on the left.
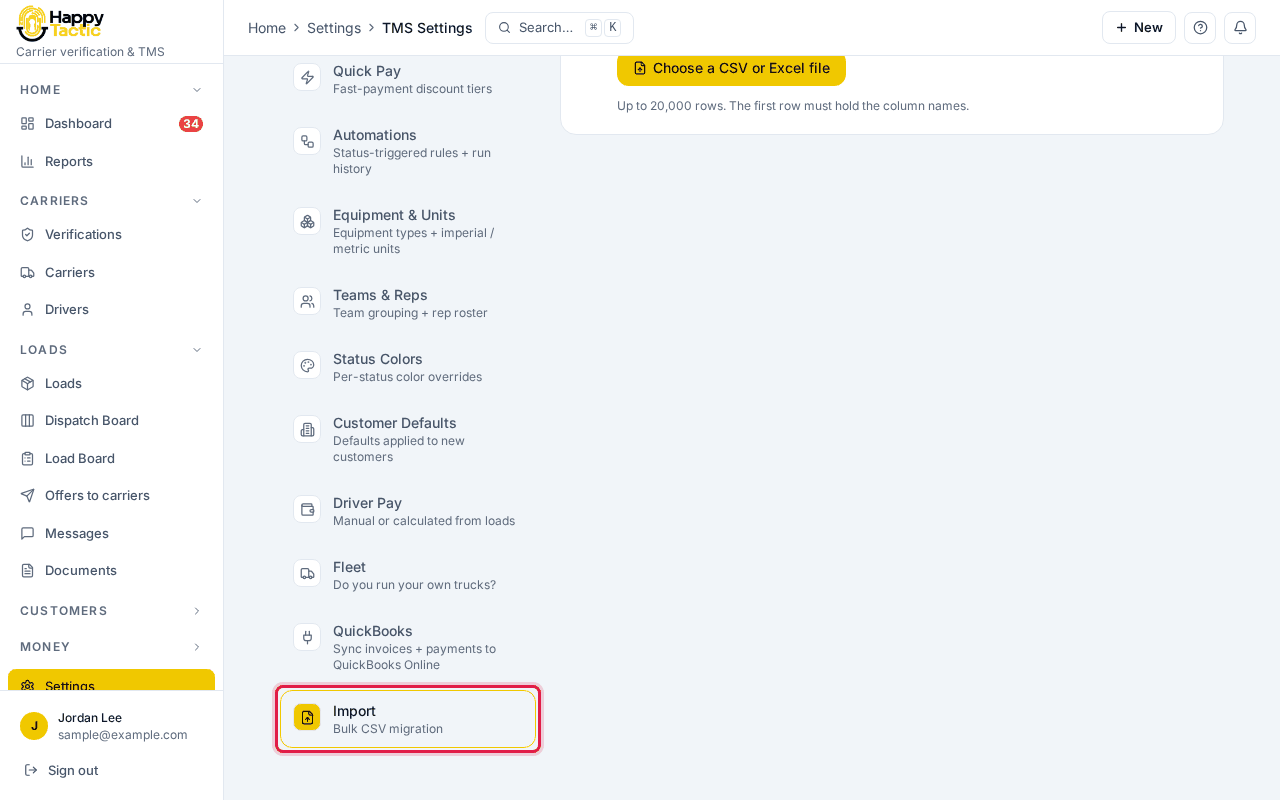
You should see: A box called Import from your old TMS opens.
Step 2: Choose what you are importing
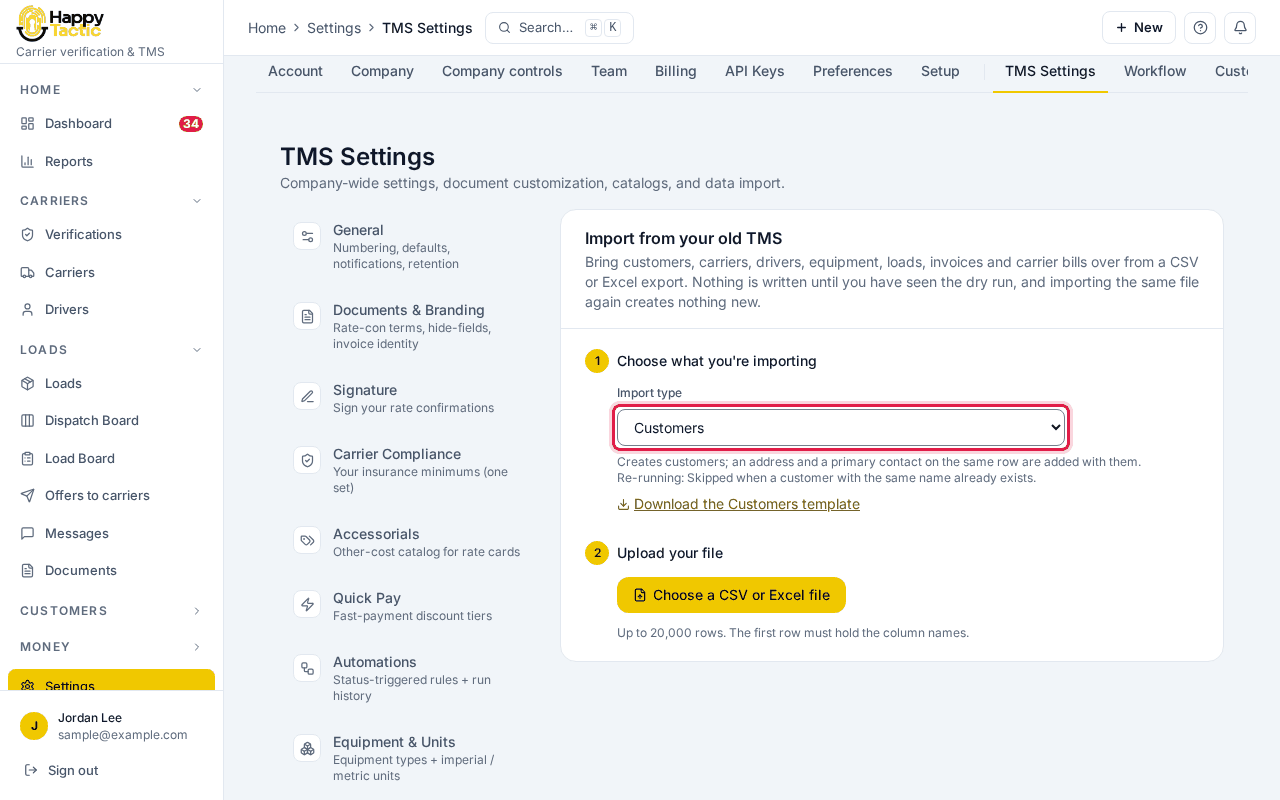
Pick an Import type such as Customers, Carriers, Drivers or Loads. Click Download the Customers template to get a file with the right column names.
Step 3: Choose your file
Click Choose a CSV or Excel file and pick your file. The first row must hold the column names. You can bring up to 20,000 rows.
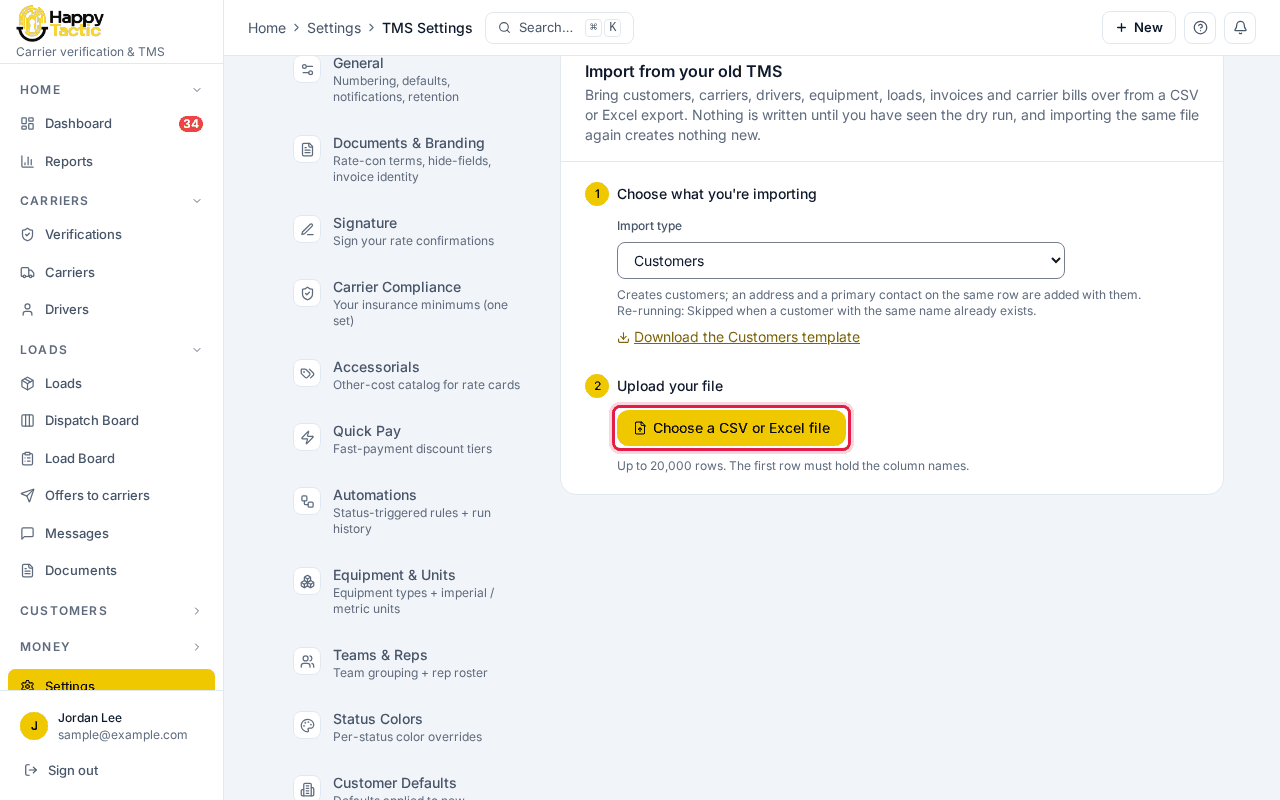
You should see: Nothing is saved yet.
Step 4: Match your columns to ours
The next box lists our fields on the left and a drop-down of your columns in the middle. We match by name when we can. Fix any that are wrong. A “First value” column shows the first row from your file.
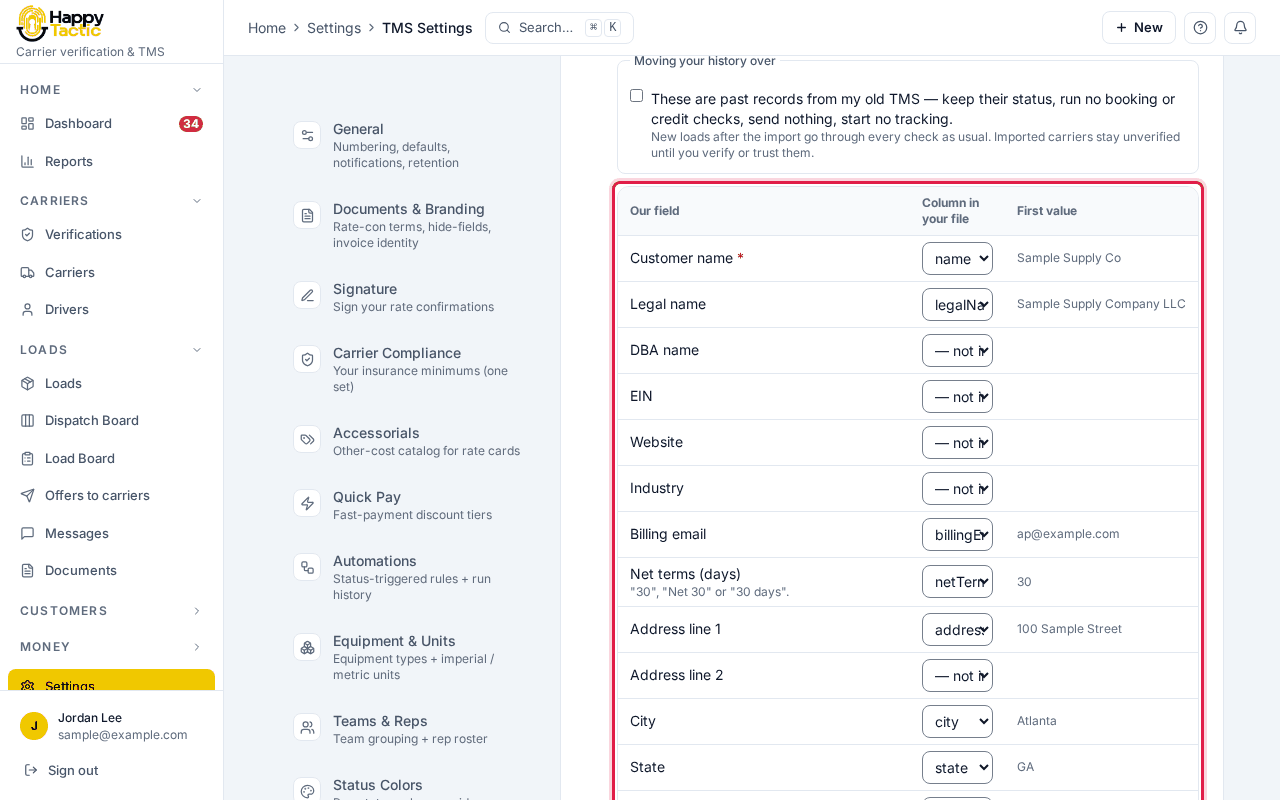
You should see: If these are old records from your old system, tick These are past records from my old TMS so we keep their status and send nothing.
Step 5: Run the dry run
Scroll down and click Run the dry run. This only checks the file.
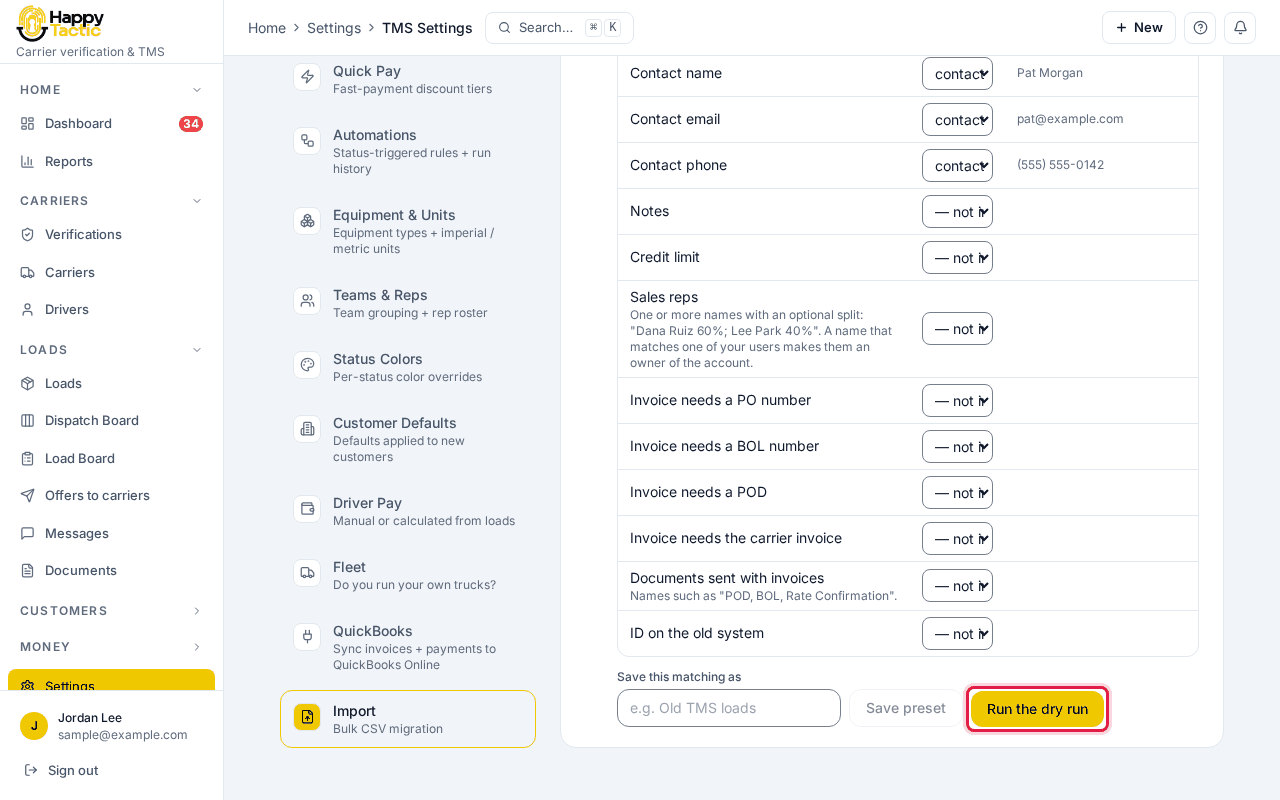
You should see: A box called Dry run appears.
Step 6: Read the result
It says how many to create, how many already exist and will be skipped, and how many have a problem.
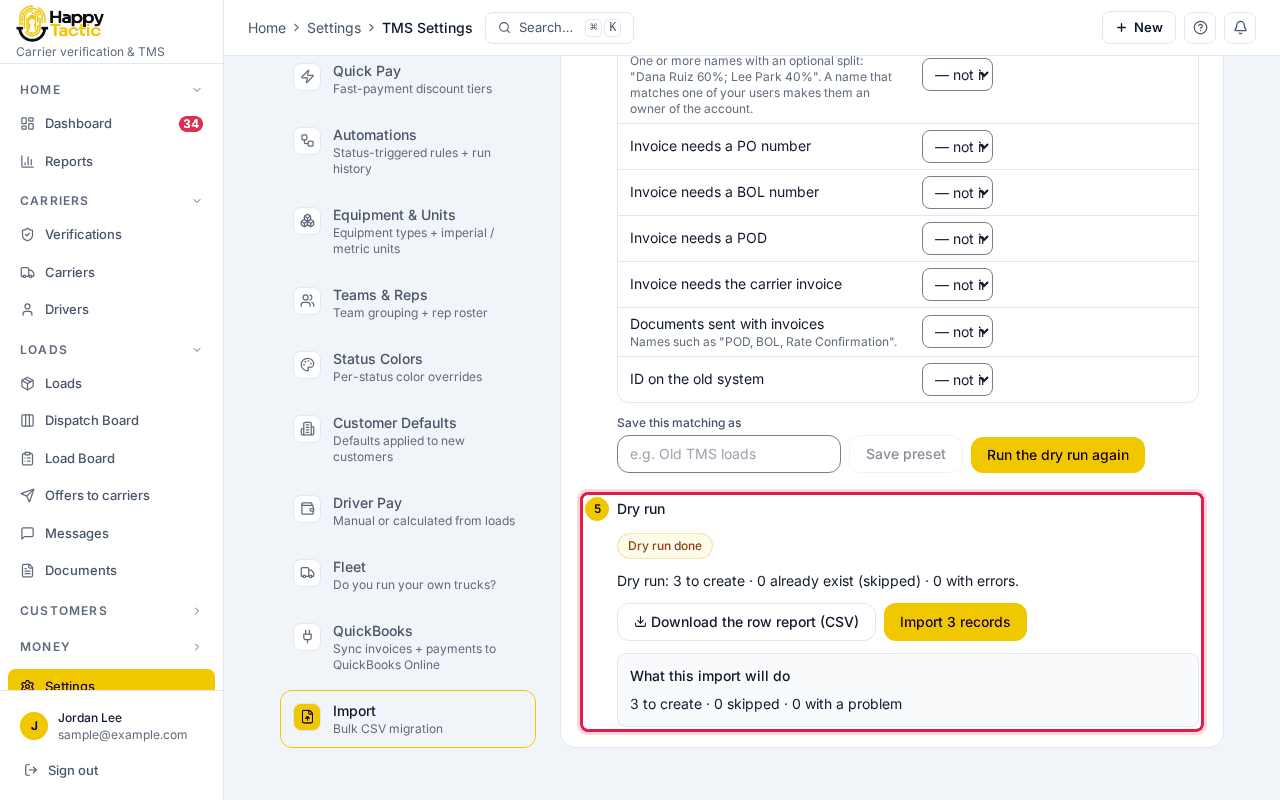
You should see: Click Download the row report (CSV) to see every row. Fix any rows with a problem in your file and run it again.
Step 7: Import it
Click Import 3 records (the number is yours).
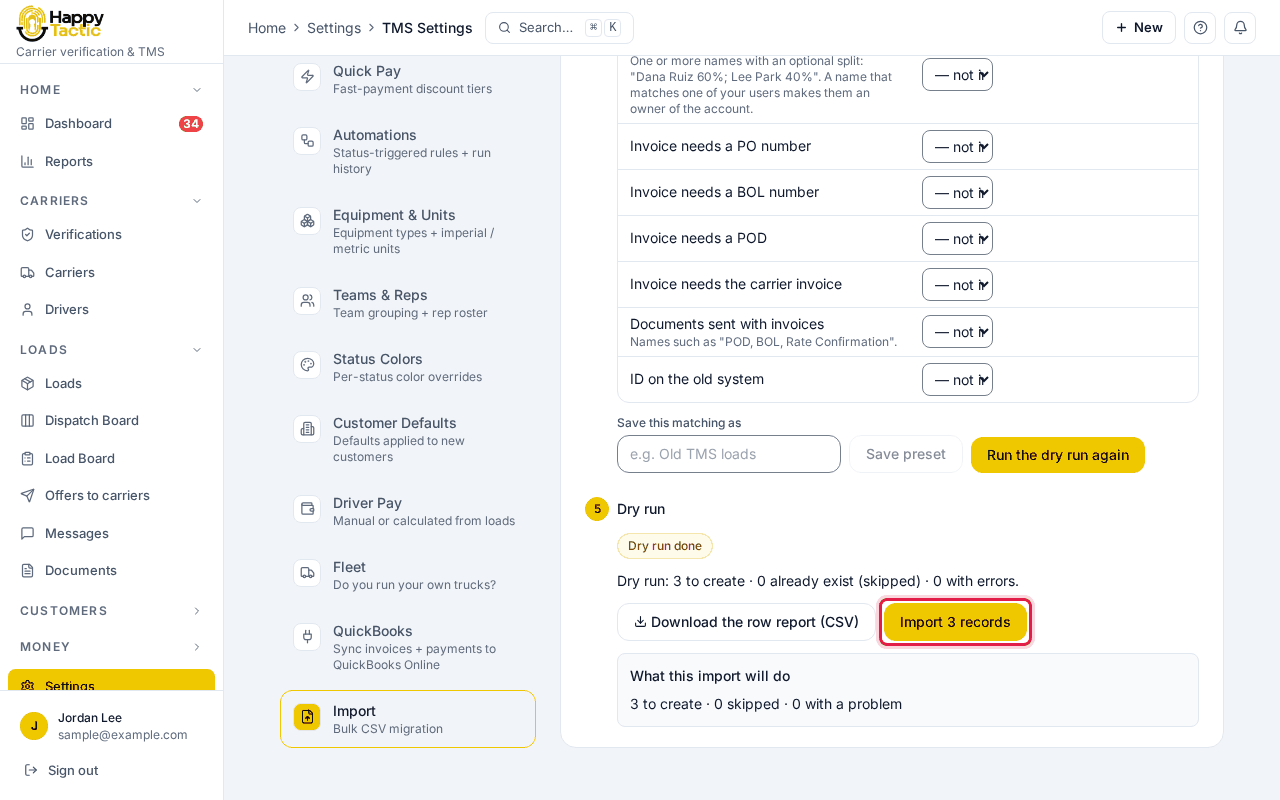
Step 8: Check it finished
The box turns green and says “Import complete”, with how many were created.
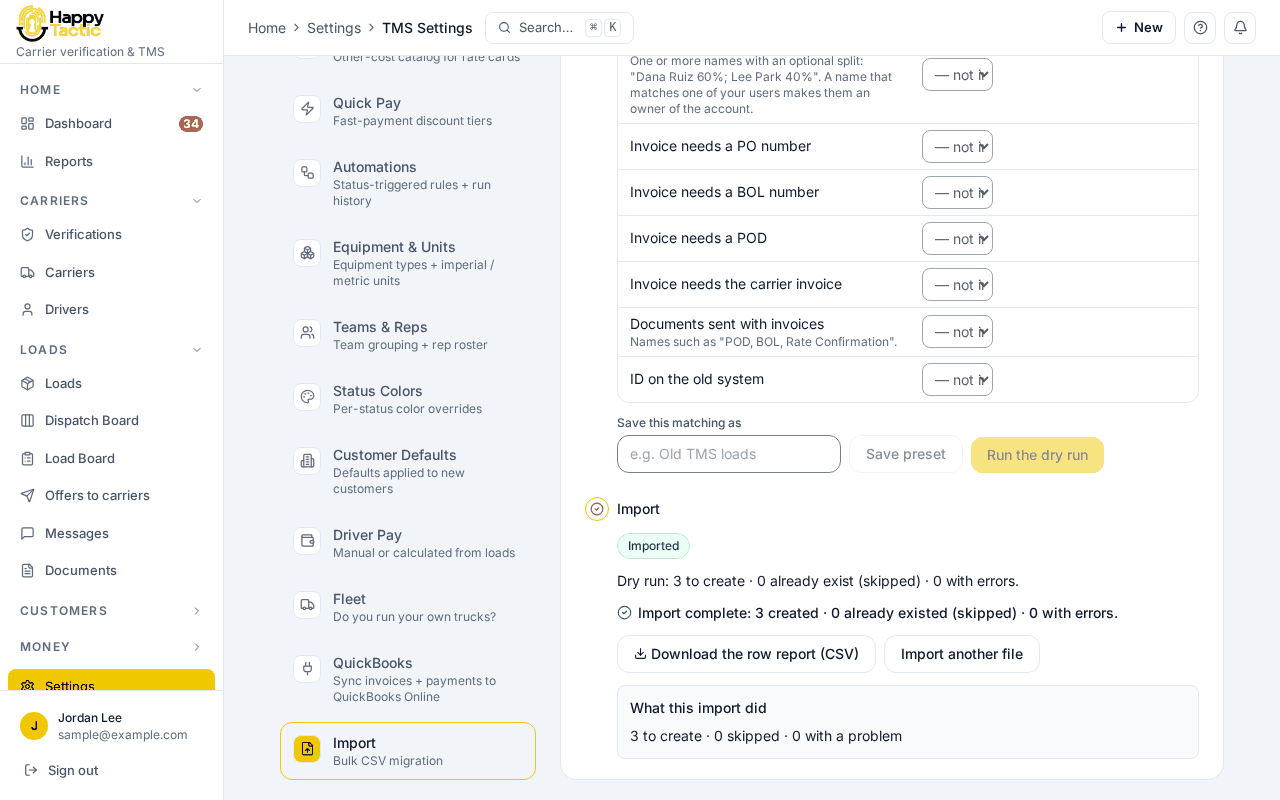
You should see: Imported records never trigger emails or reminders. Imported carriers stay unverified until you verify or trust them. Importing the same file again creates nothing new.
If something goes wrong
- The dry run shows rows with a problem.
- Download the row report, fix those rows in your file, and run the dry run again. Nothing was saved.
- My dates came in wrong.
- Under Dates in this file pick the order your file uses (month first, day first, or year first) and run the dry run again.
- I imported the same file twice.
- No harm done. Rows that already exist are skipped.
- My old system’s columns do not match.
- Use Save preset to keep your matching for next time.
Still stuck? Open Help & Support in the left menu of the app and send us a message.
What next
These guides usually come next: